Wednesday, May 20, 2009

Photomontage using the Clone Stamp

Creating a Photomontage in Photoshop is fun and easy using the Clone Stamp tool.


This collage was created using multiple images I have taken over the past several years using only the Clone Stamp tool in Photoshop.

I have discovered several different composite methods but have found the Clone Stamp tool works the best for me. After choosing a theme, I searched my archives for images that matched that idea and added all those files to a working folder.

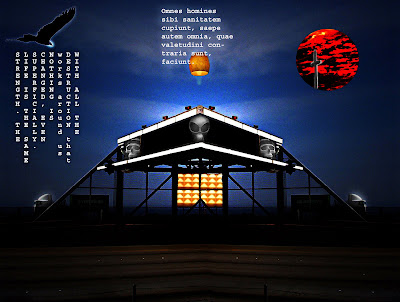
I began with a new canvas on black and added my first subject near the center of the frame. It then became a processed that evolved around the"Highway Scene" with a continuous focus on images I took between the years 2006-2008.

To select the Clone Stamp in Photoshop press the "S" key. Open up an image that you would like to clone from and choose the desired brush size. Simply hold down the "Alt" key and click on the selection you want to copy. Return to your blank canvas and start drawing while holding your mouse button down. That's all there is to it!

A photographer is at a dinner party, the guests are looking through his portfolio. The host comments, "These pictures are wonderful! You must have a great camera!"
Photographer replies, "Thanks. This dinner is delicious. You must have really great pots..."
~Author Unknown

Saturday, May 9, 2009

Digital art using the clone stamp tool

Recently I was sorting through a large inactive archive I periodically review in the process to maintain a manageable number of images. I remember when I could fit all my work on one CD. :)

The first picture below was taken while driving down the freeway in Los Angeles. I was drawn to the shape and design of this structure. The angles and the black bridge had an aesthetic appeal, but the image was incomplete and was buried in my "trash" archive.


This second image was created from the above, using only a few tools and several images from other shots I took, using the "Clone Stamp tool" in Photoshop. Listed below are the steps I used.


  • Create a copy of the original file and rename this file
  • Rotate and flip the canvas to the horizontal position
  • Using the Move tool drop the copy image on top of the original
  • Add a Layer mask
  • Use the Gradient tool to align the 2 opposite images to appear as one
  • Merge the layers and save
  • Open up an image you would like to add a selection to the saved image
  • Select the "Clone Stamp tool" and place your cursor on the desired selection holding down the alt tab and single click
  • Move back to the original and hold down the mouse button over the area you wish to apply the clone
  • Try different brush settings starting off small until you get the right size. For this image I used a Normal and Vivid mode with Opacity set at 100% and a Flow of the same.
I also used the Magic Wand and the Elliptical Marquee tool to isolate some areas where I wanted to clone --not necessary, but will help in situations where you want to be more precise.